When it comes to laptops and computers, there is nothing worse than turning them on only to find that you’ve got a dark, black screen instead of the desktop. If your laptop’s screen is black, is it broken?
To diagnose and fix a laptop screen that is black (but the laptop is powering on), you should start by performing a hard reset and then move on to checking the laptop with an external monitor, disconnecting and reconnecting the internal battery, and disconnecting and reconnecting the CMOS battery. In most cases, a laptop has a black screen due to a simple and easy problem to fix.
Read on to learn more about what causes this problem and a complete, step-by-step guide to fixing this problem yourself!
How to fix a black or dark laptop screen
Today we’re going to tackle a common issue with laptops and that is what to do if your laptop display has stopped working, even if your laptop is still running. Now, in this situation, what is happening is that you’ve turned on your laptop, and it is booting up fine, you hear the fan running, etc., but the display stays blank, or maybe it just looks like it is turned off.
Note: This tutorial is NOT meant to solve an issue where you laptop doesn’t have power or can’t power on – that’s a completely separate issue!
So if your laptop is powering on but still has a black screen, keep reading!
I do all of my tutorials by first starting with the easiest, quickest, and most likely causes and then working my way down to the less likely, more time-consuming, and more technical solutions. This way, you will probably fix your problem fairly quickly, but if you still have an issue, you can always move on to the next step to try that one.
Based on the feedback and comments that I’ve gotten for this particular video on YouTube, most people have their problem solved with the first step, but some people make it all the way to the end before their screen works.
So, work your way through these steps!
If you would prefer to watch this tutorial, here is the full video from my YouTube channel:
Otherwise, here are the written instructions (with screenshots!)
Step #1 – Perform a hard reset
So what we’re going to do first is simply to power cycle the laptop with a hard reset.
To perform a hard reset, you will hold down the power button for about 15-20 seconds. During this time, you may hear your computer power off or try to boot back up again, but you just need to keep holding the button for 15-20 seconds. Don’t worry, this won’t mess anything up!
When the time is up, hopefully, you will see something happening on your screen and things look like they are back to normal. In many cases, a hard reset will fix a black or dim laptop screen super quickly.
If the hard reset doesn’t fix the problem, let’s move on to the next step.
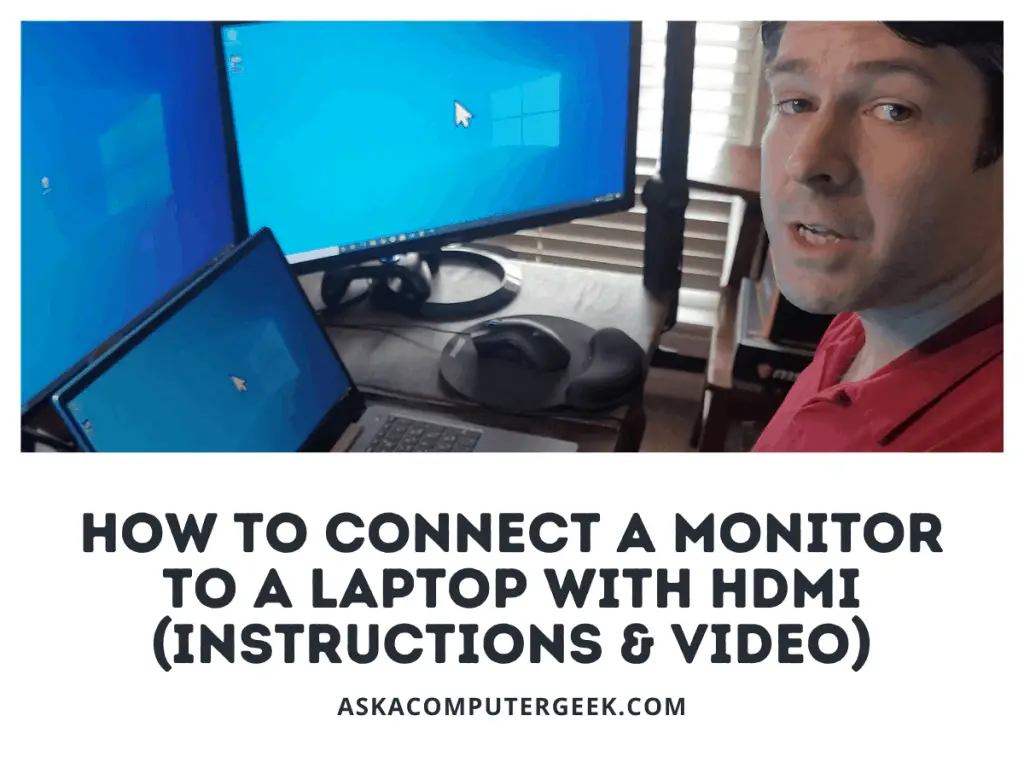
Step #2 – Connect your laptop to an external monitor
In this step, we want to confirm that there is no issue with the laptop itself – just the screen.
To isolate the laptop screen, we’ll need to connect the laptop to an external monitor. Likely, you will use a standard HDMI cable for this step.
To connect your laptop to the external monitor, plug one end of the HDMI port on your laptop and then the other end into the back of a monitor or TV that you know works. Be sure that the display is set to the correct input source. You should see the desktop on your monitor or TV if the laptop is working.
Once you’ve confirmed that your laptop is indeed working, we’ll move onto the next step.
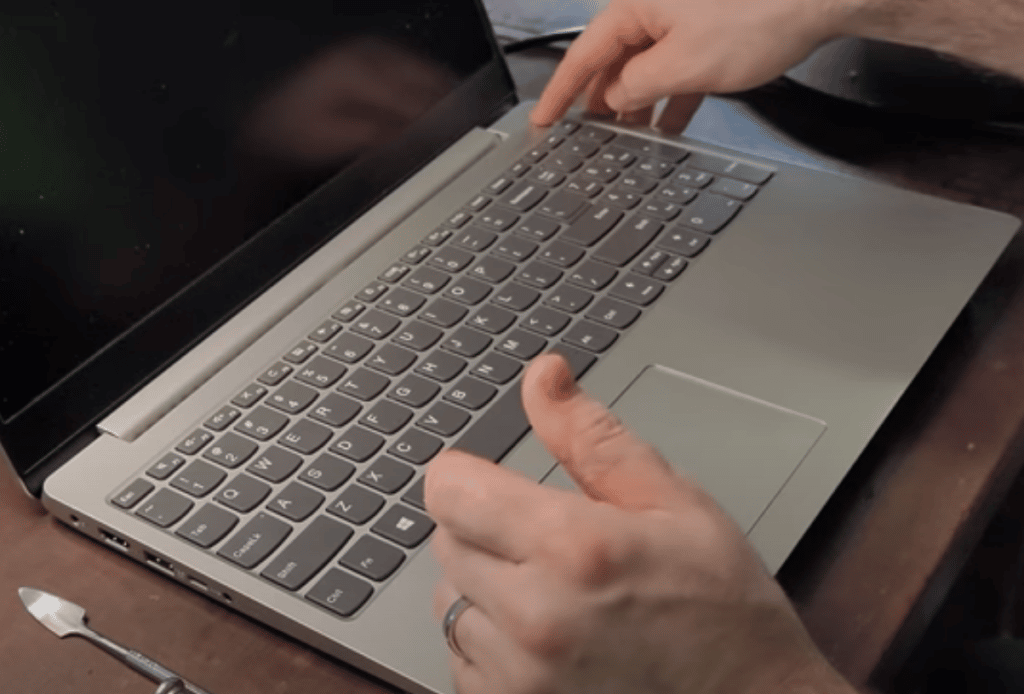
Step #3 – Disconnect and reconnect the internal battery
In this step, we are going to disconnect and reconnect the laptop’s internal battery.
Back in the day, most laptops had quick release button on the battery that let you easily disconnect the battery and pop it away from the laptop. These days, most manufacturers put these batteries completely inside the laptop, underneath the cover.
As a result, you will need to gather a couple of tools to pull the back cover off:
- A tiny screwdriver (probably Phillip’s head)
- A thin piece of plastic such as an old credit card or a plastic scraper
Once you have the tools, be sure to DISCONNECT THE POWER CABLE FROM YOUR LAPTOP!
Remove the back cover of your laptop
Now, turn your laptop upside down and inspect the back. You should see lots of screws holding the back cover on.
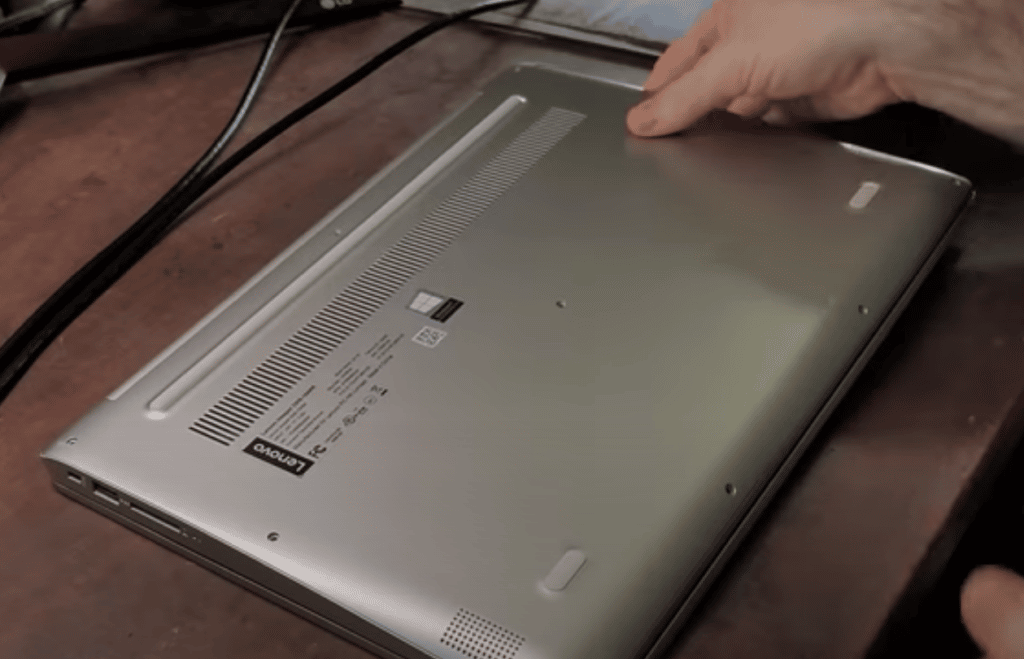
Go ahead and carefully remove each of these screws, keeping them together in a small container for later.
If this is the first time you’ve removed the back cover of your laptop, the cover will need a little persuasion to come off. There might be a bit of glue, but likely there are just a few little clips holding it on.
Using the plastic tool, gently wedge it just between the back cover and the laptop’s main body (be sure not to wedge it more than a few millimeters to avoid internal damage).
Then, you’ll slowly and gently move the plastic wedge around the cover, separating the cover from the body.

Once you have the cover off, let’s move to the next step.
Internal battery identification
If you have never opened up a laptop before, don’t freak out once the cover is off. You will see a lot of electronic components but we’re only going to mess with a couple of things.
First, locate the battery.
The battery should be a flat, fairly large, and rectangular-shaped piece inside the laptop that looks like, well, a battery!
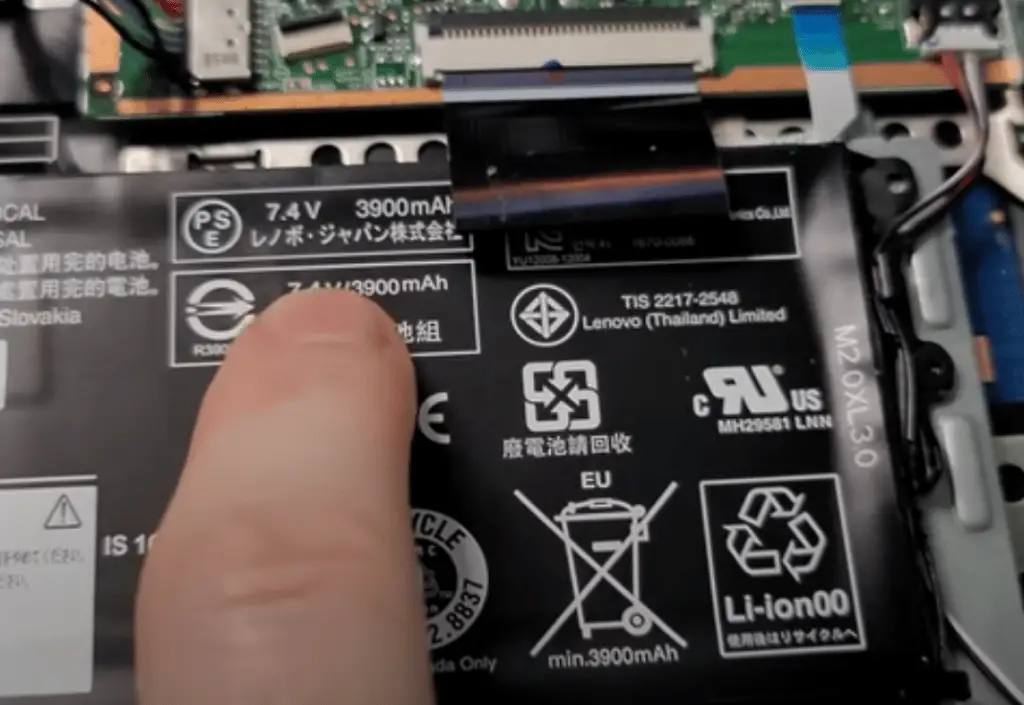
You should see some obvious markings on the battery to help you, such as a ‘rechargeable lithium battery,’ a voltage rating, and a capacity rating in mAh.
The picture above shows that my battery is rated 7.4 V with 3900 mAh capacity.
Internal battery disconnection
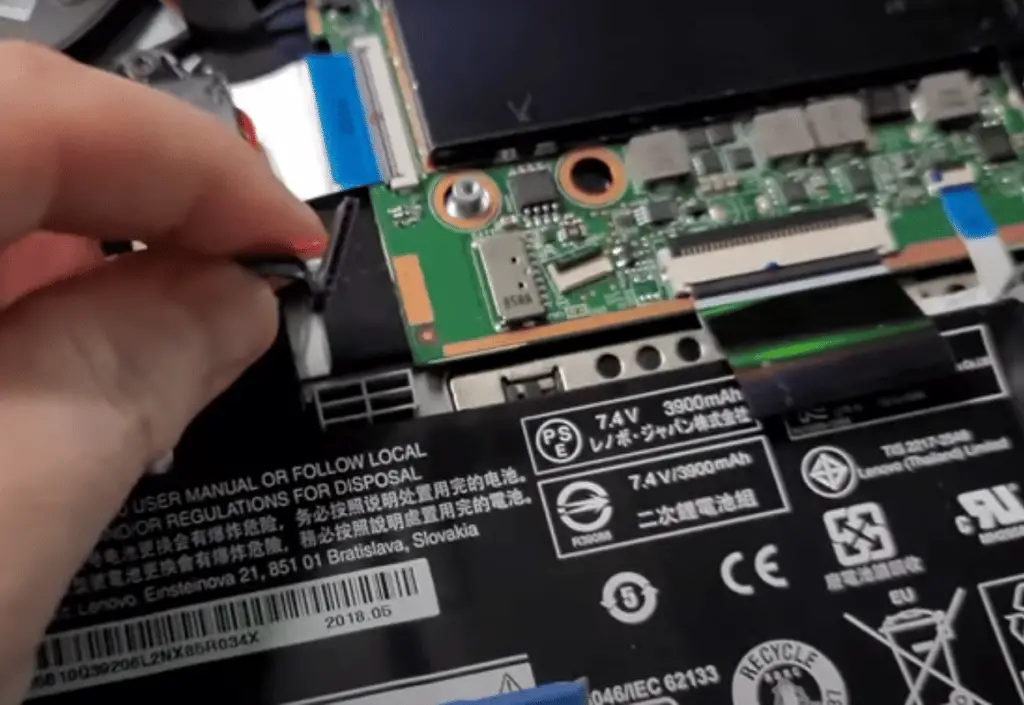
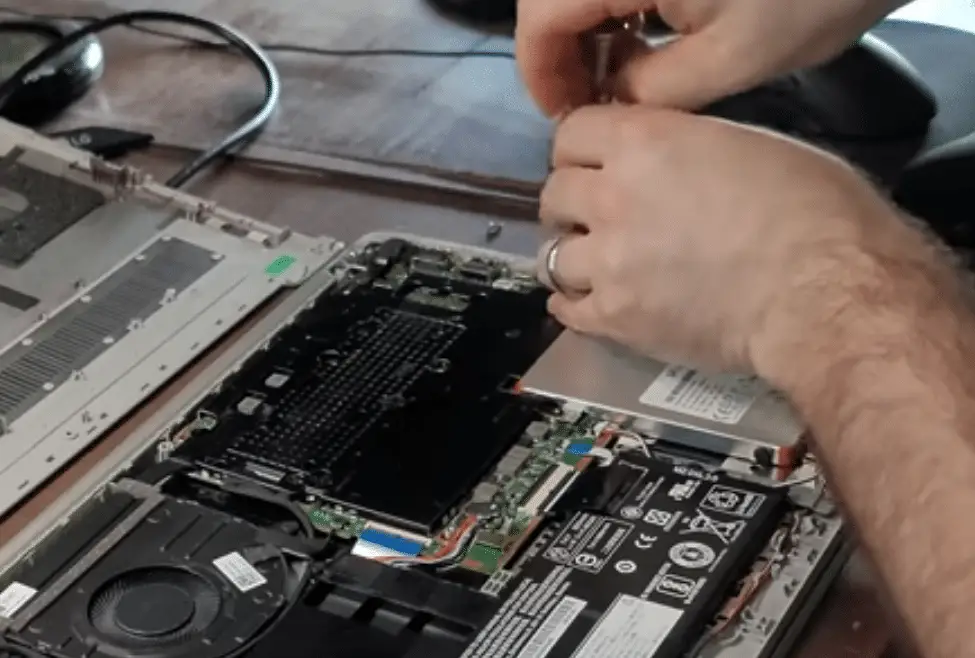
Now that we’ve identified the battery, we want to find the connector that connects the battery to the motherboard so that we can disconnect and reconnect it.
This connection will come directly off the battery and usually has a bunch of multicolored wires that all lead into a single connector.
Here is my laptop for reference:
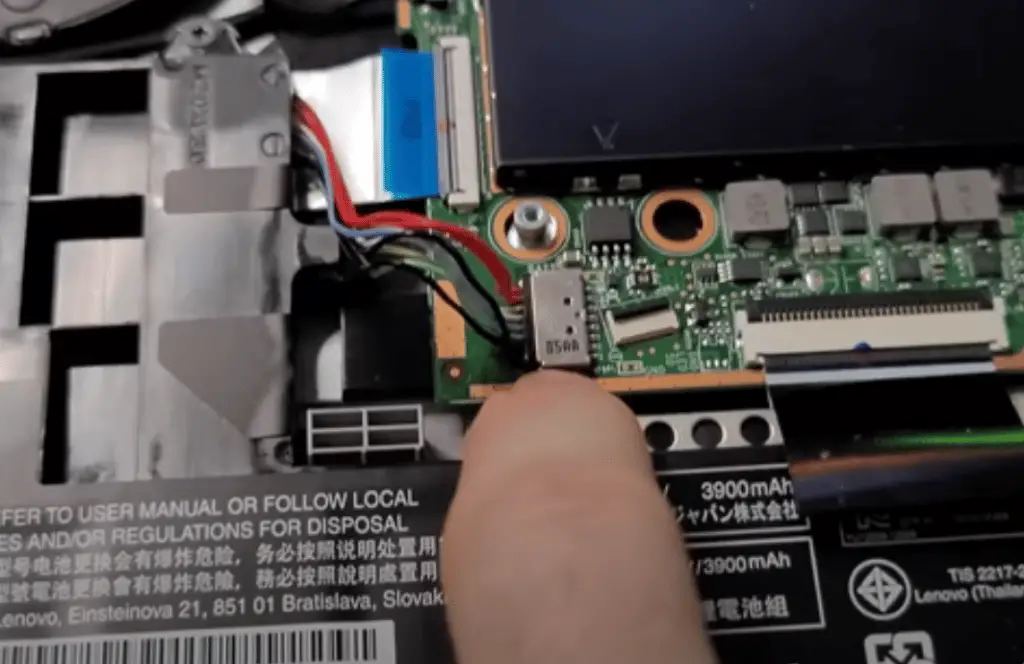
Once you find it, you’ll need to disconnect it.
Again with your little piece of plastic, we’ll gently nudge the black connector free from the metal socket on the motherboard. Work slowly and gently, being careful not to force anything or touch anything else on the motherboard.
Once you have it loose, you can even just use your fingers to rock it back in forth until it comes out gently.
And then, pull it away completely:
Step #4 – Test the laptop
With the internal battery disconnected, I recommend a quick check to see if the laptop works with just external power.
Carefully lay the back cover back on the laptop and then flip it back over. Connect the charging cable to the laptop like normal, open up the screen, and try to power on the laptop. Don’t worry, your laptop can run without the internal battery connected.
If you turn on the laptop on and the laptop seems to be working fine – great! That means your problem is fixed, and you’ll just need to follow the steps in reverse to get your laptop battery reconnected and your back cover fastened back to the laptop.
If you turn the laptop on and you are still having an issue with the black screen, we’ll need to move on to the next fix. Be sure to power off the laptop, disconnect the AC charging cable, flip your laptop back over, and remove the cover again.
Step #5 – Disconnect and reconnect the CMOS battery
Head back into the laptop internals for the next step.
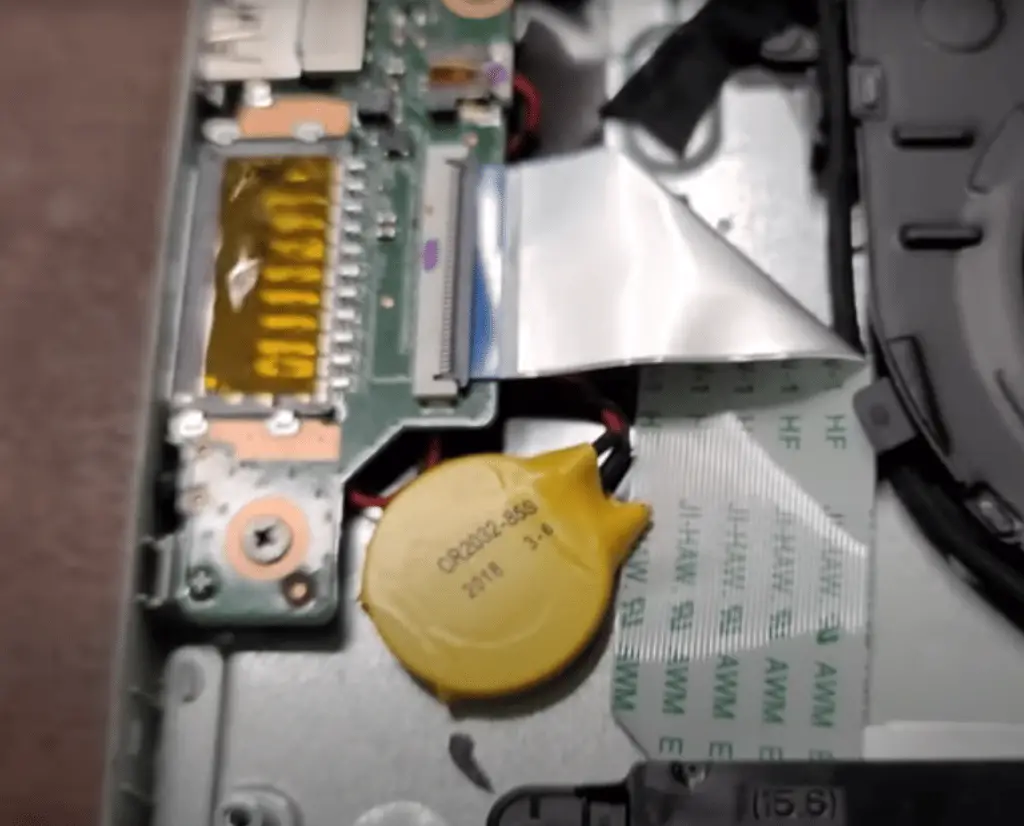
In most laptops, you’ll find that the motherboard has a small watch-style battery connected to it so that even if the laptop loses power completely it will still have a bit of power left to keep your settings in tact, etc.
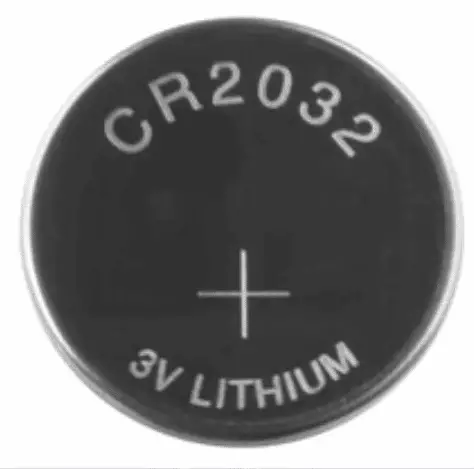
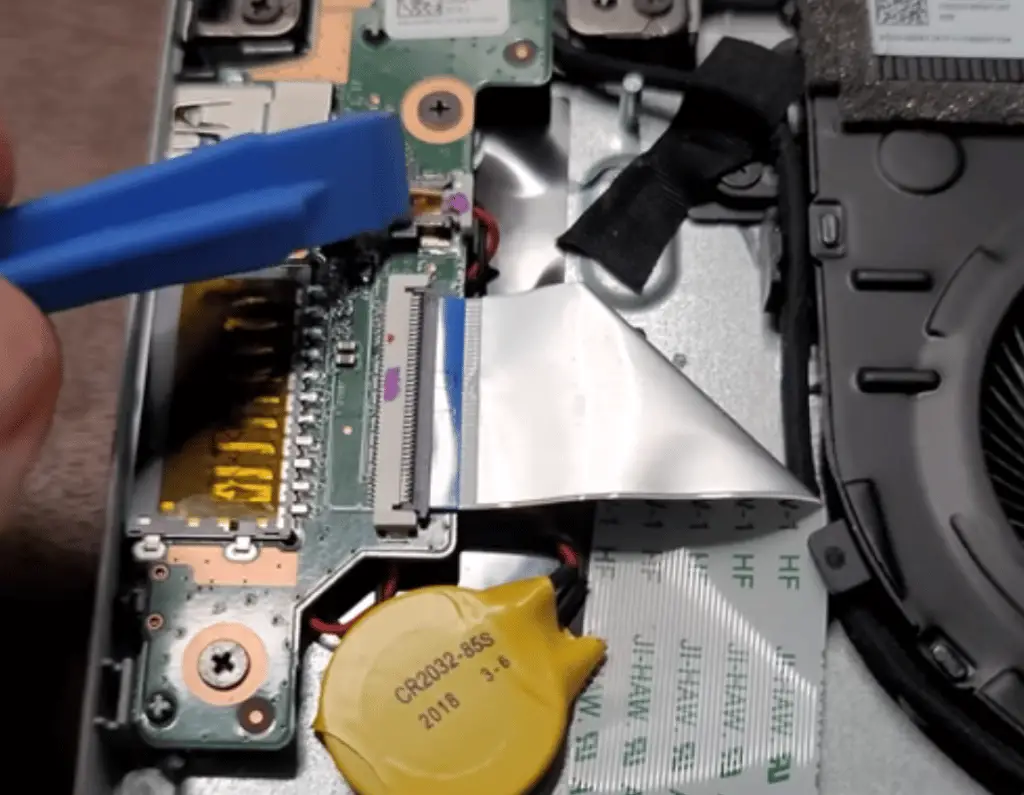
Look around inside your laptop and you will find a nickel-sized battery somewhere inside. It might be wrapped in a bit of plastic covering (like mine is pictured below) or it might be exposed. You’ll see a couple of wires running from it and it should be labeled CR2032 which is the size specification of the battery.
Disconnect the CMOS battery
Once you’ve identified the CMOS battery, we want to disconnect it.
If your battery is unwrapped, it is probably easiest to just pull the battery out of its little socket, carefully, with your plastic tool.
If your battery is wrapped, it is probably easiest to disconnect the CMOS battery cable connector from the motherboard instead of messing with the battery itself.
Since my battery is wrapped, I’ll disconnect the connection:
Just follow the little cables from the CMOS battery and see where they lead. When you see the little connector, gently pry it out with the plastic tool or even your fingers to get it removed.
Hold down the power button for 20 seconds
Now that the internal battery and CMOS batteries are disconnected, we want to completely discharge the laptop of any power at all.
Carefully place your back cover on the laptop (without reattaching it), flip your laptop over, and then hold the power button for about 20 seconds.
Note: Nothing should happen here – there is no power to the laptop so it can’t turn on. We’re simply clearing out any remaining charge.
Reconnect the CMOS battery
Now, flip your laptop back over and remove the back cover again.
Carefully, reconnect your CMOS battery or replace the battery inside the little socket.
At this point, we could try the laptop again but since we already have the cover off, there is another quick thing you can do while we’re here.
Step #6 – Check and reseat the RAM stick
In this step, we’re going to identify the RAM module for your laptop so that we can disconnect it, clean it, and reseat it. Weirdly enough, an improperly seated RAM module can cause screen issues.
There are a few reasons why the connection can be compromised:
- Dirt and dust have gotten into the connection area
- Bumps or drops have slightly separated the RAM module from the motherboard
Either way, we’ll check it now.
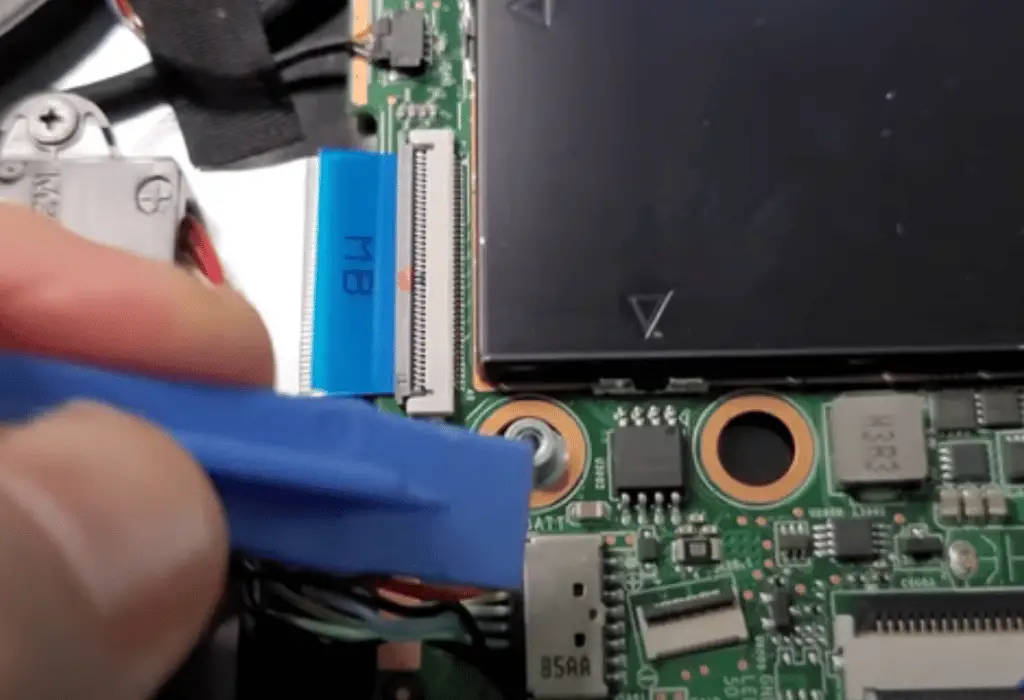
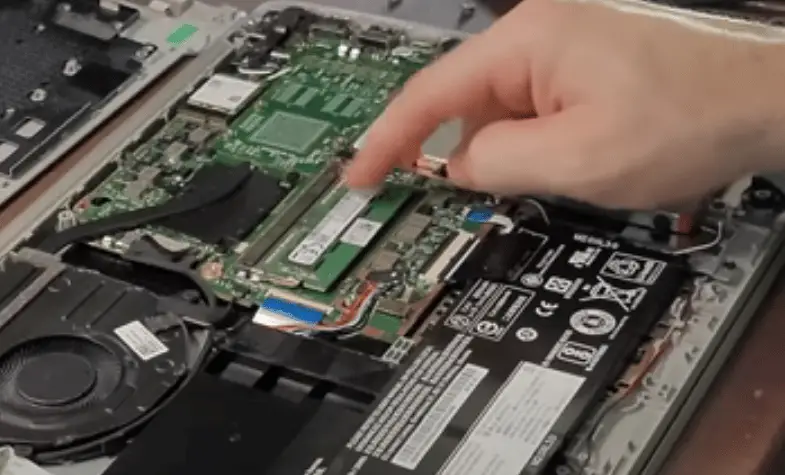
Identify the RAM module access cover
In most laptops, you’ll find the RAM module hidden under a small cover. I recommend searching up your laptop’s manufacturer and looking in the manual to find the location so that you know where to look.
Once you’ve figured out where the RAM is hidden, use any tools you need to remove the cover to access your RAM.
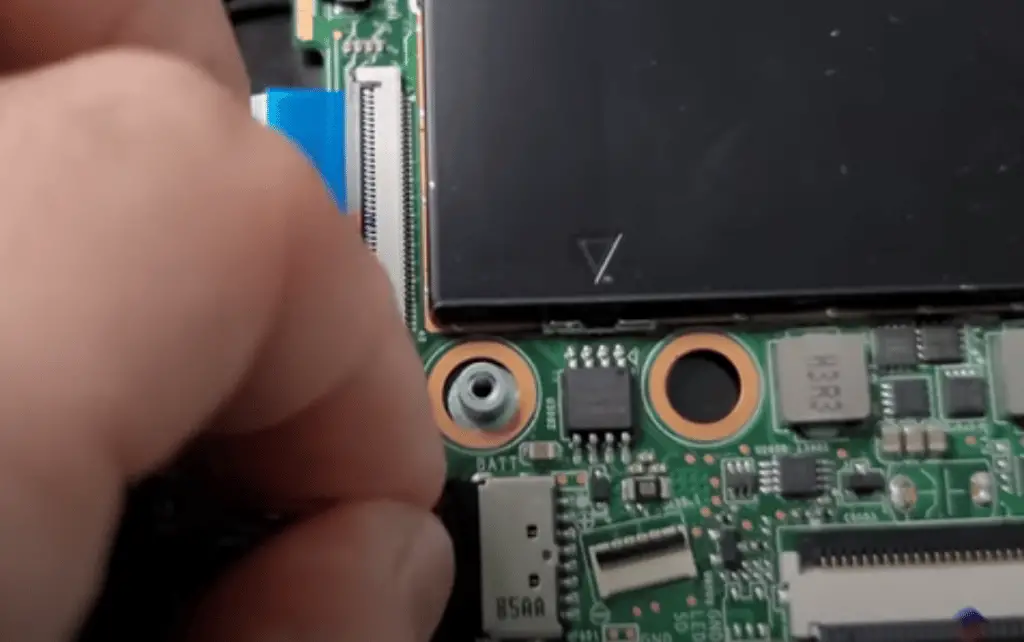
Mine is under this little metal shroud here:
Just unscrew and remove the covering.
Now, gently pop off the cover.

Identify the RAM module
Identify the RAM module underneath the cover. It will be a rectangular module about 2-3 inches long.
Remove the RAM module
Every laptop will be a bit different, but you’ll probably have a couple of little ‘arms’ on either side of the RAM module that hold the module in place.
Carefully, lift up those arms (you might pull them out and up) to release the RAM module. Likely, the module will sort of pop up on its own as these arms are released.
Once released, gently pull out the RAM module.
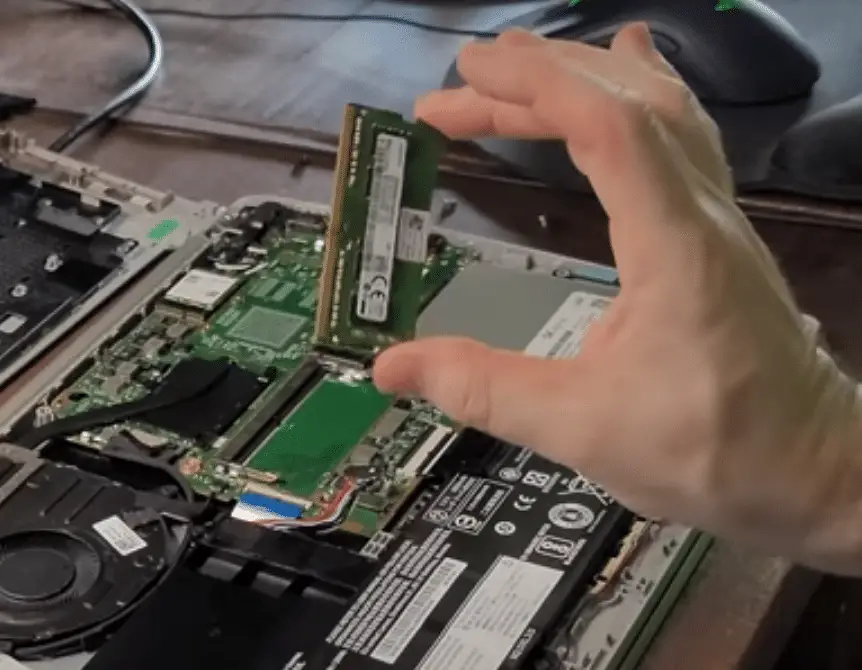
At this point, you can reseat the RAM module and close things back up, but I like to take the opportunity to clean off the module’s connector with a bit of 90% isopropyl alcohol.
Now, gently reseat the RAM module. Be careful that it is facing the same way it was before! Then, gently lock the arms back in place and ensure that the RAM module is snug and secure.
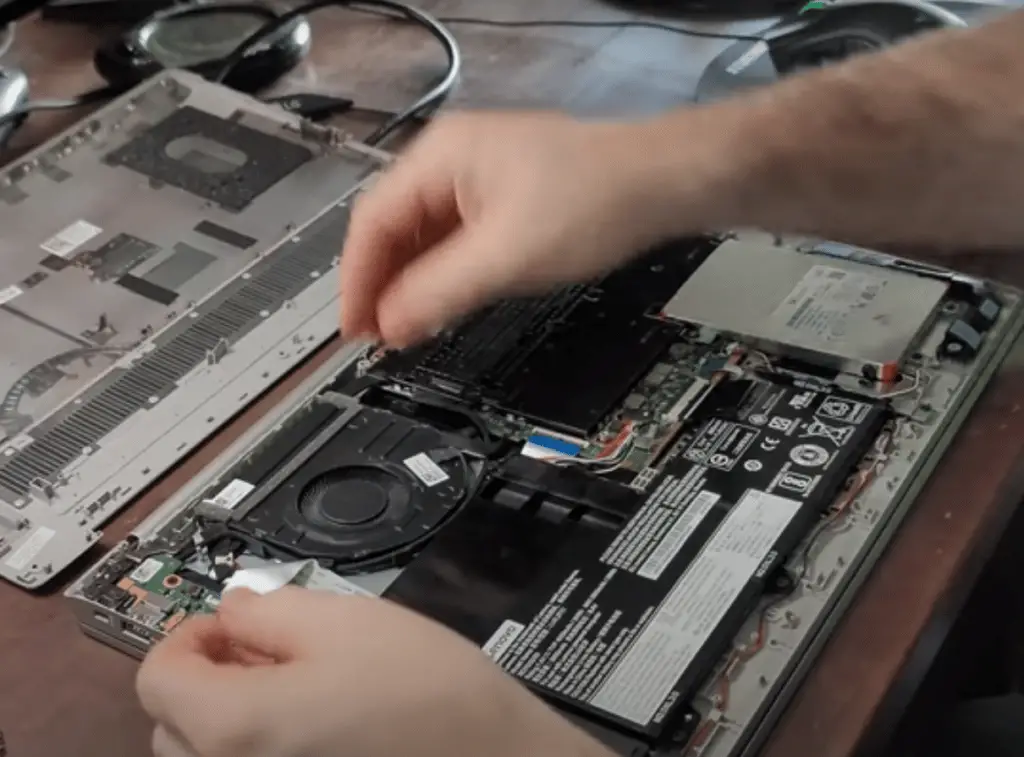
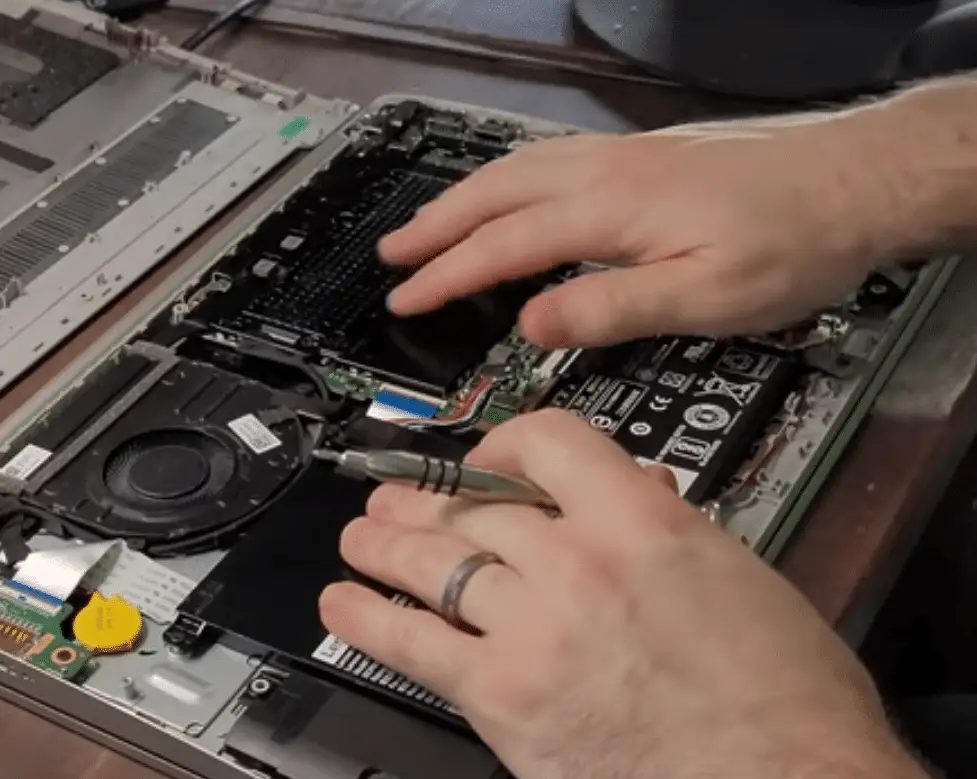
Step #7 – Connect everything and replace the back cover
At this point, we’re done with everything we need to do inside the laptop so we’ll work in reverse to connect everything back up and get ready to power on.
Here are the reverse steps:
- Reseat the RAM module
- Replace the RAM access cover along with any screws
- Double-check the CMOS battery has been reconnected
- Reconnect the internal battery connection
- Place the back cover back on the laptop and gently press down until the locking tabs activate
- Replace all of the back cover screws
Step #8 – Power on the laptop with working screen
Now, the best part!
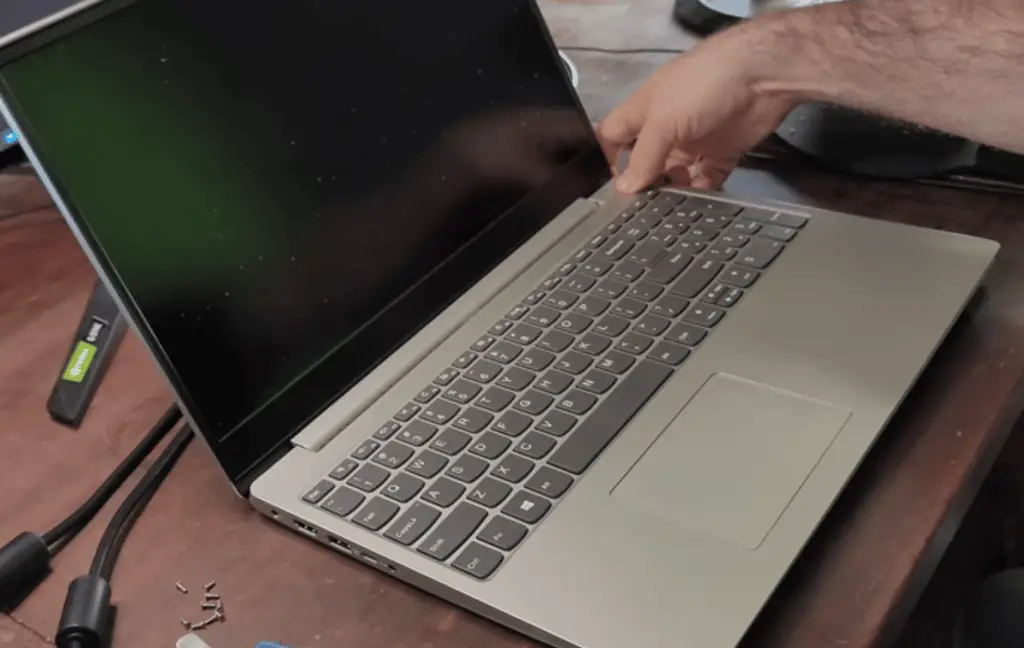
Go ahead and plug in the AC adapter to your laptop and try to power on your laptop as usual. If all went according to plan, your laptop screen should be working properly now!
Note: Because we disconnected the CMOS battery, your laptop might boot into ‘recovery mode’ because it wasn’t a proper shutdown.
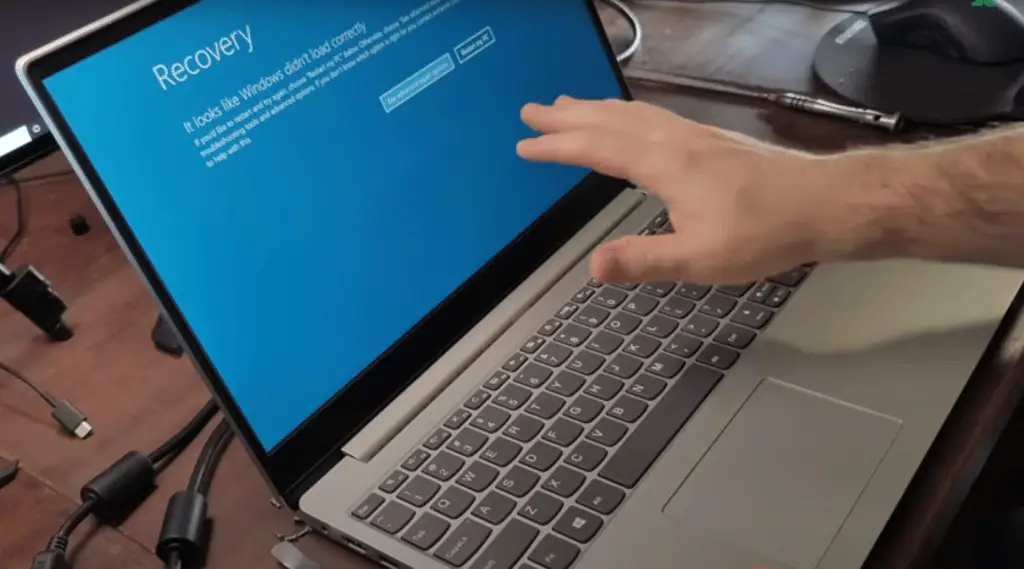
In this case, we know exactly why this is happening, so we’ll just bypass this warning by clicking ‘Restart my PC’ and letting the laptop boot up normally.